
Ensuring your hot tub water is clean and balanced is not just a luxury—it’s essential for safety, comfort, and longevity. Because a hot tub contains a relatively small volume of warm water, they are especially vulnerable to rapid chemical fluctuations and contamination.
Testing daily helps prevent cloudy water, skin and eye irritation, and even serious health risks. It also protects your hot tub from corrosion, scale buildup, and premature wear caused by imbalanced pH or alkalinity.
In this post, we will guide you step-by-step through the daily testing routine — explaining exactly why it matters, which key water levels to monitor, and how to perform these checks effectively and efficiently. This way, you can enjoy a safe, sparkling soak every time.
1. Prepare Your Test Strips
Always check the expiration date on your Aqua Sparkle test strips.
Ensure the strips are completely dry—moisture ruins them.
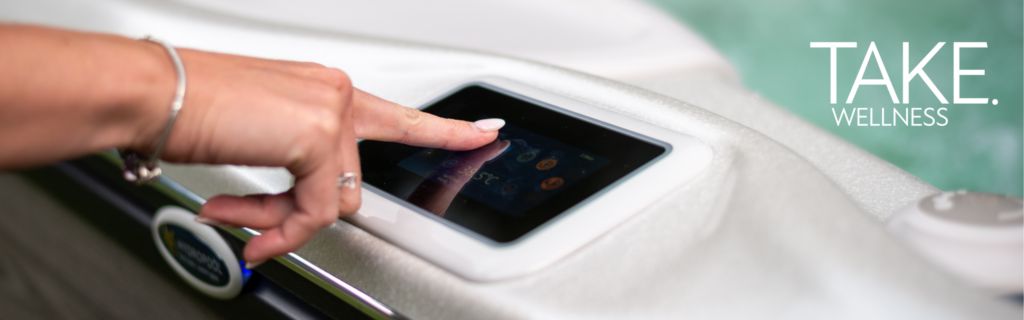
2. Take the Test
Dip the strip in the water, then remove immediately—no need to wave it around.
Wait 20 seconds, then align it with the colour chart on the bottle to compare results.
3. Check Alkalinity & pH First
Start by measuring total alkalinity and pH, since these establish a stable chemical foundation.
Ideal levels:
Total alkalinity: 80–120 ppm
pH: around 7.0–7.2
4. Adjust pH if Needed
Low pH (below ~7.0) → add Aqua Sparkle Plus (“PH +”).
High pH (above ~7.4) → add Aqua Sparkle Minus (“pH -”).
5. How to Dose:
Use warm spa water in a separate container like a plastic jug. This will avoid overdosing your tub and reduce the amount of chemicals used to correct mistakes.
For most tubs, one dose is ~11 g (per manufacturer guidelines).
Measure out required dose with a measuring spoon into container.
Dissolve in warm water before adding gradually.
6. Let Circulate
Run a low-speed jet or circulation pump to mix chemicals thoroughly.
Wait 15–20 minutes, then retest.
7. Sanitise with Chlorine or Bromine if reading is off
If using a chlorine-based system, ignore the bromine reading etc.
Aim for chlorine levels of 3–5 ppm.
Use stabilised chlorine granules:
Typical dose: around 5 g, again dissolved in warm water before adding.
Wait another 20 minutes, then retest and repeat if chlorine is still low.
8. If Using the Inline Dispenser (Optional)
Open control panel: go to Maintenance → Standby.
Wait for bubbling to stop (~4 min), then:
Lift the tab, spin the locking ring.
Lift out the feeder and twist the base of the chemical feeder.
Add 2 chlorine tablets, then close the opening back till you see the small triangle.
Re insert the feeder and replace the locking ring.
Bleed air from the feeder’s filter, then tighten and press cancel on the control panel.
9. If Using the Floating Dispenser (Optional)
Remove lid, drop 2 tablets into the floating unit, leaving slots open.
This slowly dispenses chlorine over ~5 days.
10. Take Home Tips
Shower before entering to reduce bather load.
Wash hands after handling tablets and avoid touching your face.
Always adjust chemicals one at a time—pH/alkalinity first, sanitise second.
Dissolve powders first in warm water to prevent overdose.
Retest after 15–20 minutes to verify each adjustment. If you run into any questions during the testing process do not hesitate to get in touch.